Aperture Priority

Pentax SF10, Pentax SMC FK 50mm Macro f2.8
Shooting a camera in program or auto mode is the easiest way to take a picture, but getting into some of a cameras slightly more advanced features requires only a little bit of thought and can make your good photography into great photography. On bodies that have this feature, it will generally be found labeled as A or Av on your dial or in the menus. Depending on your model, the aperture settings may be changed on the lens itself, or with newer cameras with a settings dial conveniently placed near where your hand grips while taking a photo. Some cameras will also have this as a “hidden” feature, so if it’s not obvious it will be in your user manual.

Nikon F3 dial

Canon A1 dial
Before getting into why you would choose Aperture Priority mode, it’s important to know what aperture is. If you look inside your lens, you will see a series of blades arranged in a circular pattern which open and close to allow light to flow through to create an image. The size of the opening corresponds with an aperture value, or “f” value on the lens. The smaller the f number is, the larger the blades can open and the less time the shutter needs to be open. A larger opening also means a shallower depth of field and creates a blurrier background. To sum it up, small f value means big opening, large f value means small opening. Once the aperture is chosen, the camera decides how fast the shutter should fire based on the light meter readings.

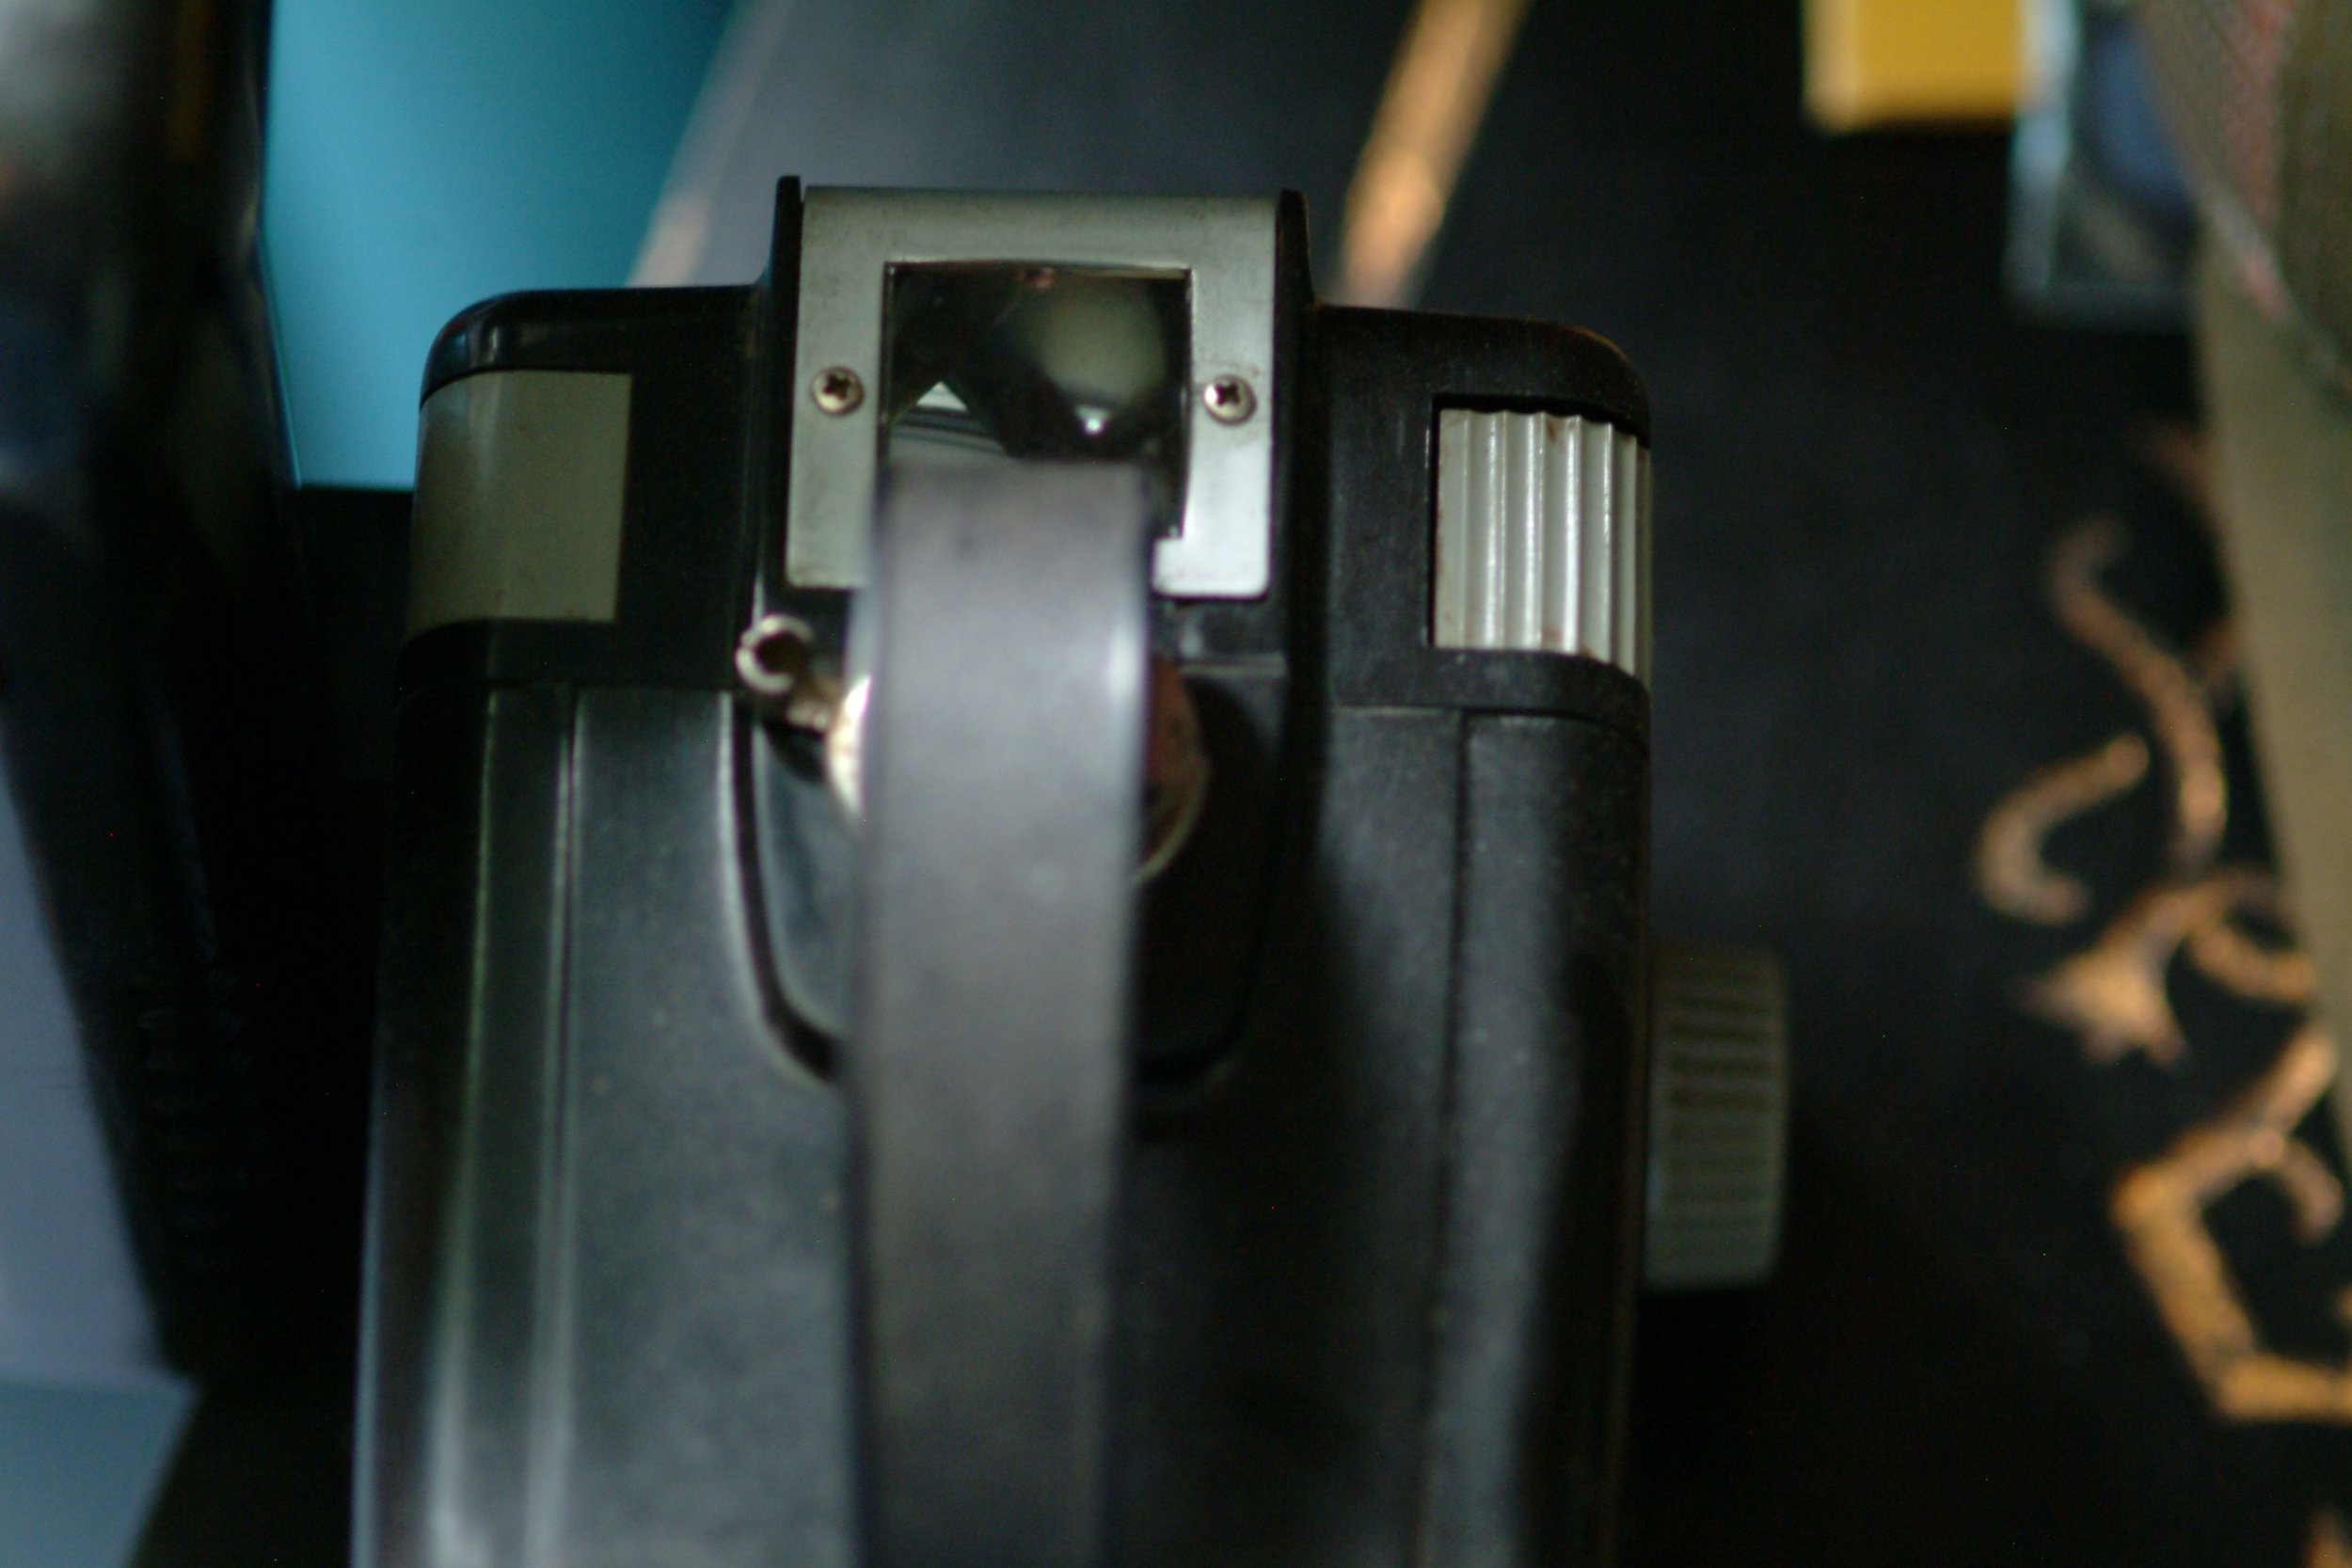
Physical aperture ring

Aperture blades
Essentially, aperture priority allows the photographer to control how blurry they want their background to be and isolate the subject they are shooting. When you want increased blurry use a smaller number, using a larger f stop lets more of the image to be in focus. For our trip to Yosemite National Park, I wanted as much of the landscape to be in focus and used the maximum aperture speed for most of my pictures. On the other hand, if I were shooting a senior portrait, I want the subject to be the focus and would want them to be isolated from the background a little. The pictures below of a Lego Minifigure show the difference in background your at different settings. There is a fine balance between too little/too much and just right, this decision making come with experience. By learning to use aperture, you learn why lenses can cost as much as they do, and why people are willing to upgrade once they outgrow the kit lenses they got in the box with their Christmas gifts. Fortunately, lenses that come in kits today are very capable and rarely need to be upgraded for most people using them.

Nikon 105mm macro @ f2.8

Nikon 105mm macro @ f32
Now for the cons of using aperture priority, and there aren’t many once you get used to it. Many people, myself included, tend to choose to use a larger value than needed. Lenses aren’t their sharpest at the wider end of their capability, and focus can easily be missed when using large lenses like a 50mm f1.2. If you want good isolation, most times a 2.8-5.6 aperture will be sharp where you focus and blurry where you don’t. On the flip side, using a higher number will create sharp images across the entire photo but will need more time for the shutter to be open. This can be troublesome in low light due to most people not being able to hand hold a camera steady below 1/30 second but is easily remedied with a tripod.
Now go out and shoot some photos.

The best dog ever, Fujifilm Finepix S2 Pro
Point and Shoot, or Program Mode

Fujifilm Discovery s1050
Every photographer at some point in their career has people around them asking for help using their camera. This has been happening more regularly since I started publishing this blog, and I’ve decided to start a series to help the average camera owner weed through the mountains of information available. Ultimately the best place to start with any camera is to read it’s user manual. If you don’t have one, they should be available on the manufacturer website for newer models and I have used Butkus.org for older film cameras.

Fujifilm Discovery s1050

Olympus Stylus
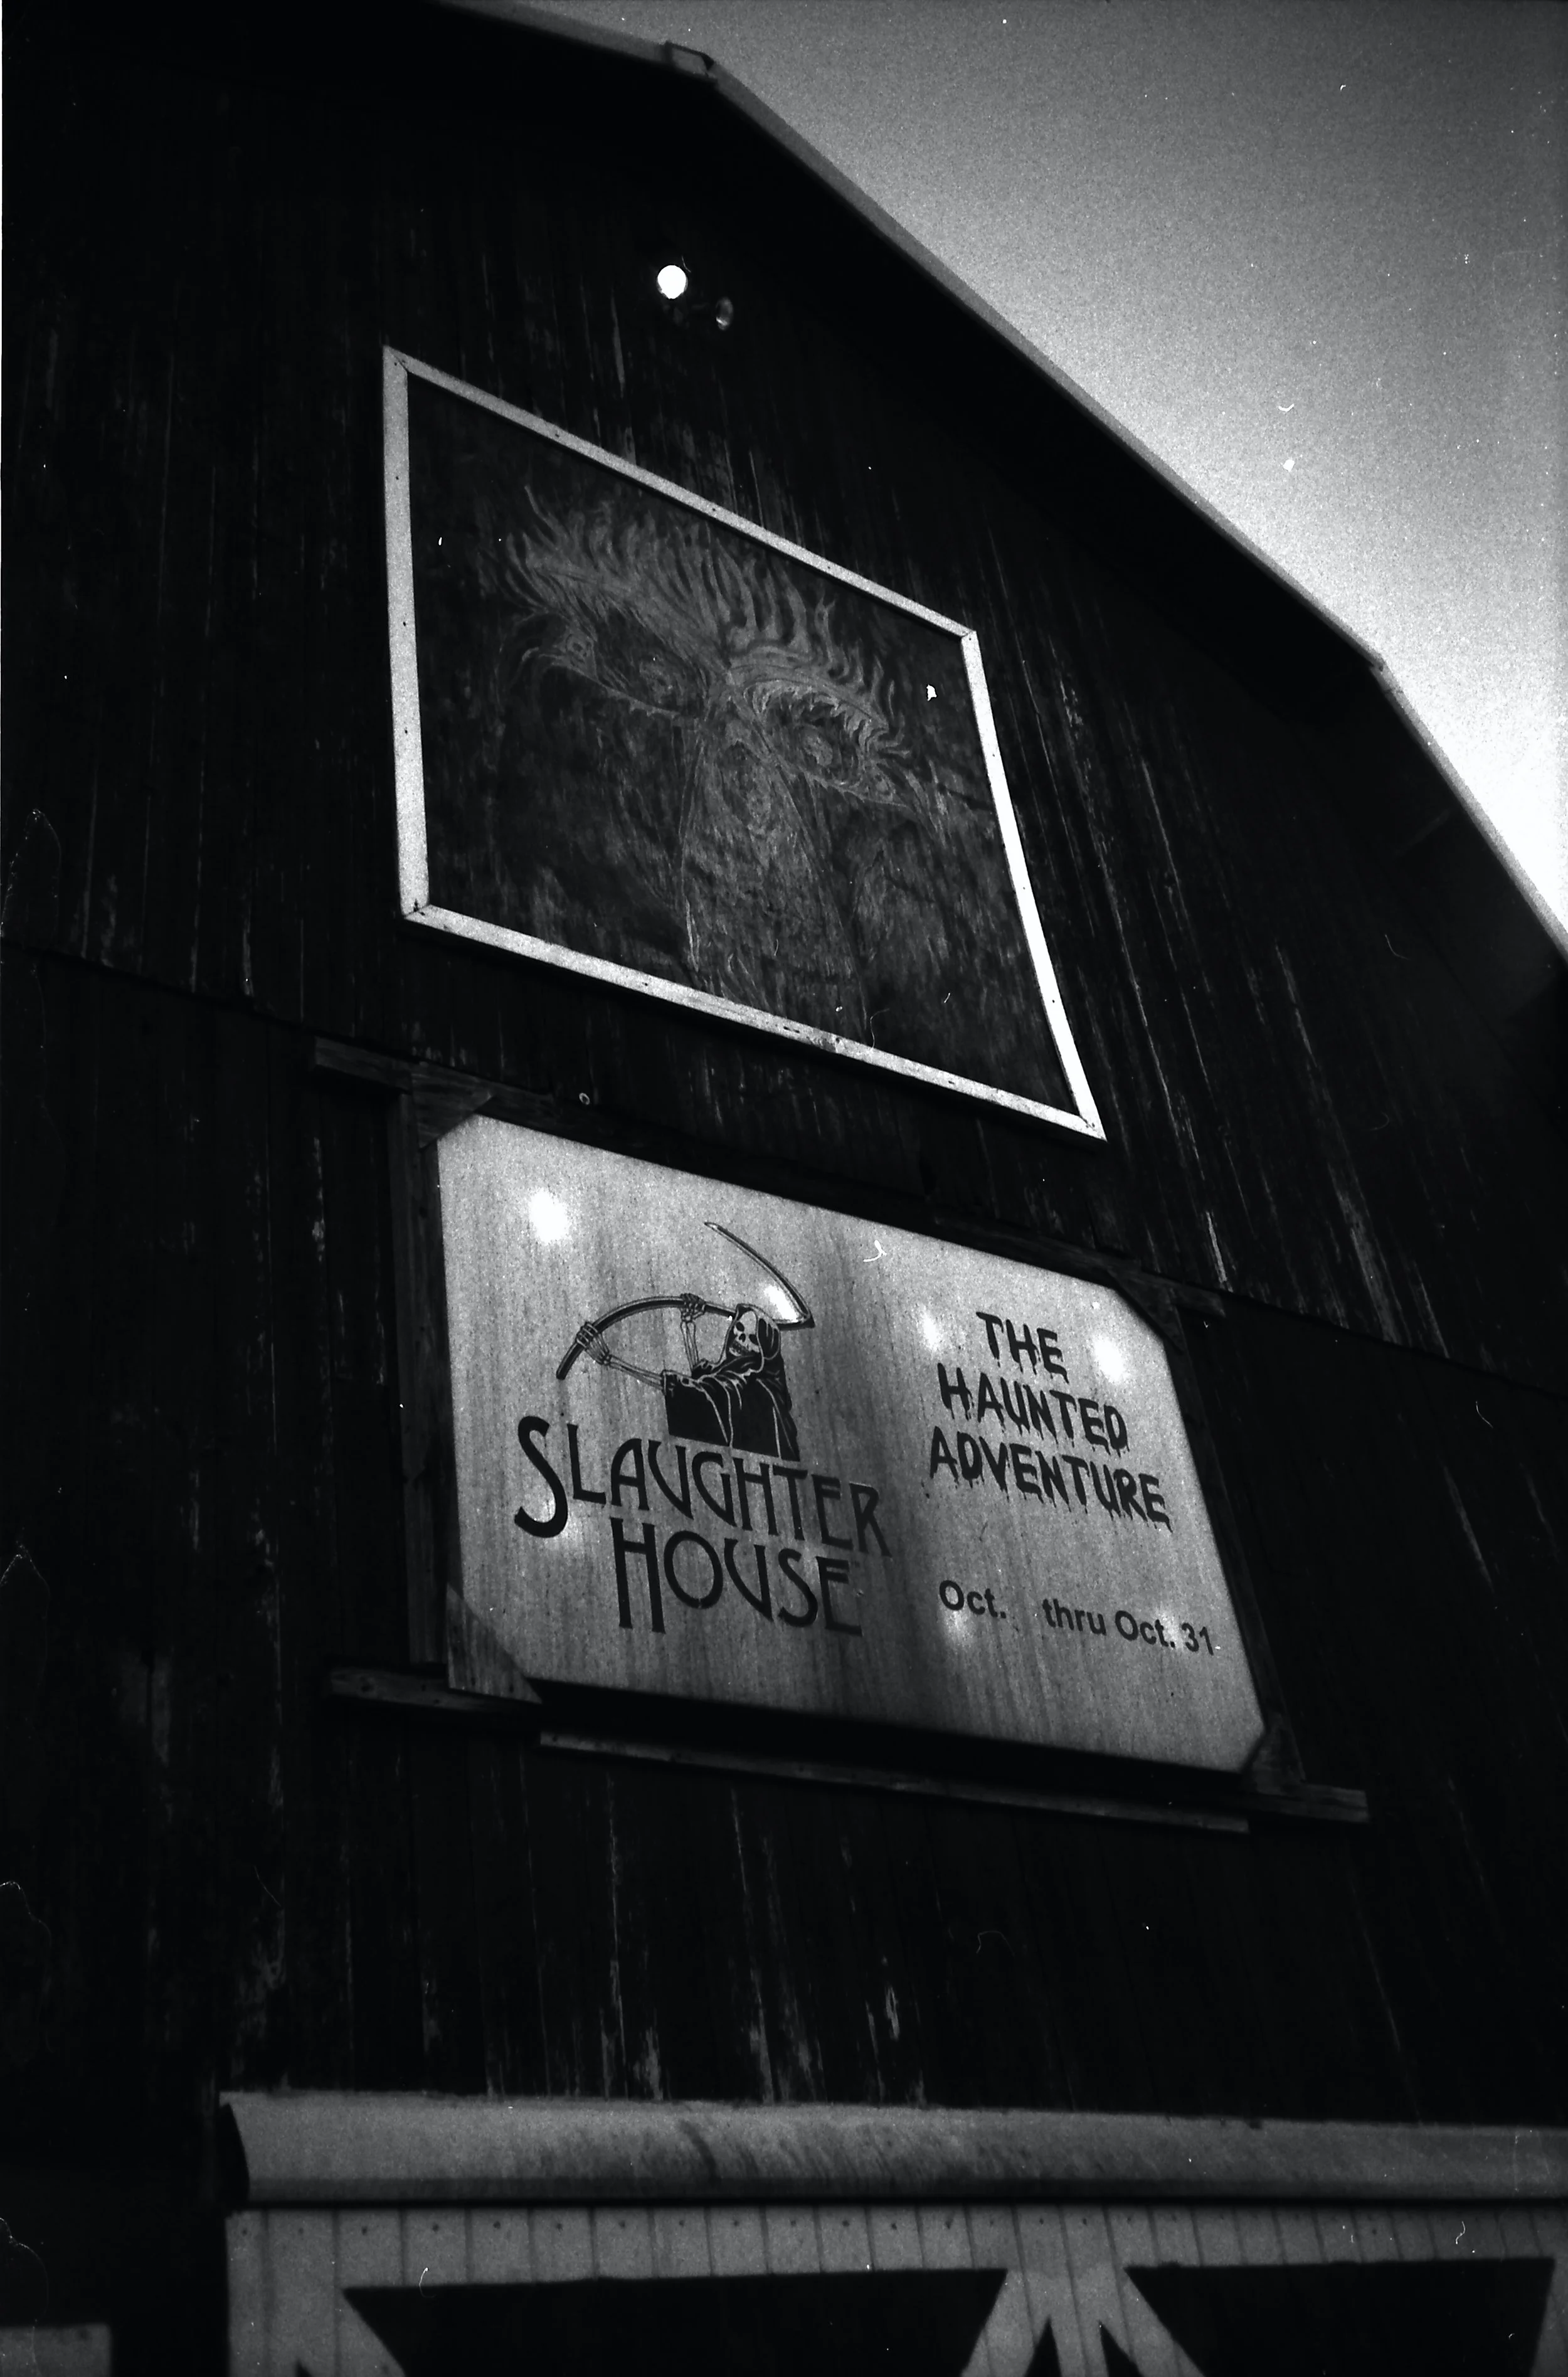
Point and Shoot cameras are the absolute easiest to use, whether it be film or digital. New photographers can get overwhelmed with terminology and technology. These cameras allow you to not worry about aperture, shutter speed or even ISO. In most cases, cameras will focus for them if they need to focus at all. They vary from the medium format Kodak Brownie Hawkeye built in the late 1940’s all the way up to a digital Nikon p1000 still being built. These are a great way to get a feel for using a camera, and sometimes it’s nice to toss one into a pocket for when you want to use something more than a smartphone. I have yet to play with any of these cameras and not make a good photo, simply being aware of the gear limitations. In this blog I will show a few examples of cameras regularly available that are either absolutely Point and Shoot, or can be used as one.

Olympus Stylus

Olympus Stylus
Olympus Stylus
The first and oldest I have tried is a Kodak Brownie Hawkeye. It’s a “box camera” from the 1940-50’s that can be found in almost every antique store. There are no settings to change, no focusing to do and once film is loaded all that can be done is point it where you want to shoot, push the button, and then wind to the next frame. A small red window on the back shows the frame (printed directly on the film backing). It’s really the most basic of cameras, a light tight box to hold film with a lens to receive light. I received a nice copy of this camera for Christmas one year and I rebuilt it at my kitchen table to make it good as new. When I shoot it in bright light it takes a very clean, contrasty picture. Most of these cameras can be had for under $20 and are very serviceable with a set of jeweler’s screwdrivers. The only real difference is the style of the body. I do like the Art Deco cameras from Agfa and other companies, but the Kodak I have will never be replaced.


Brownie Hawkeye Flash
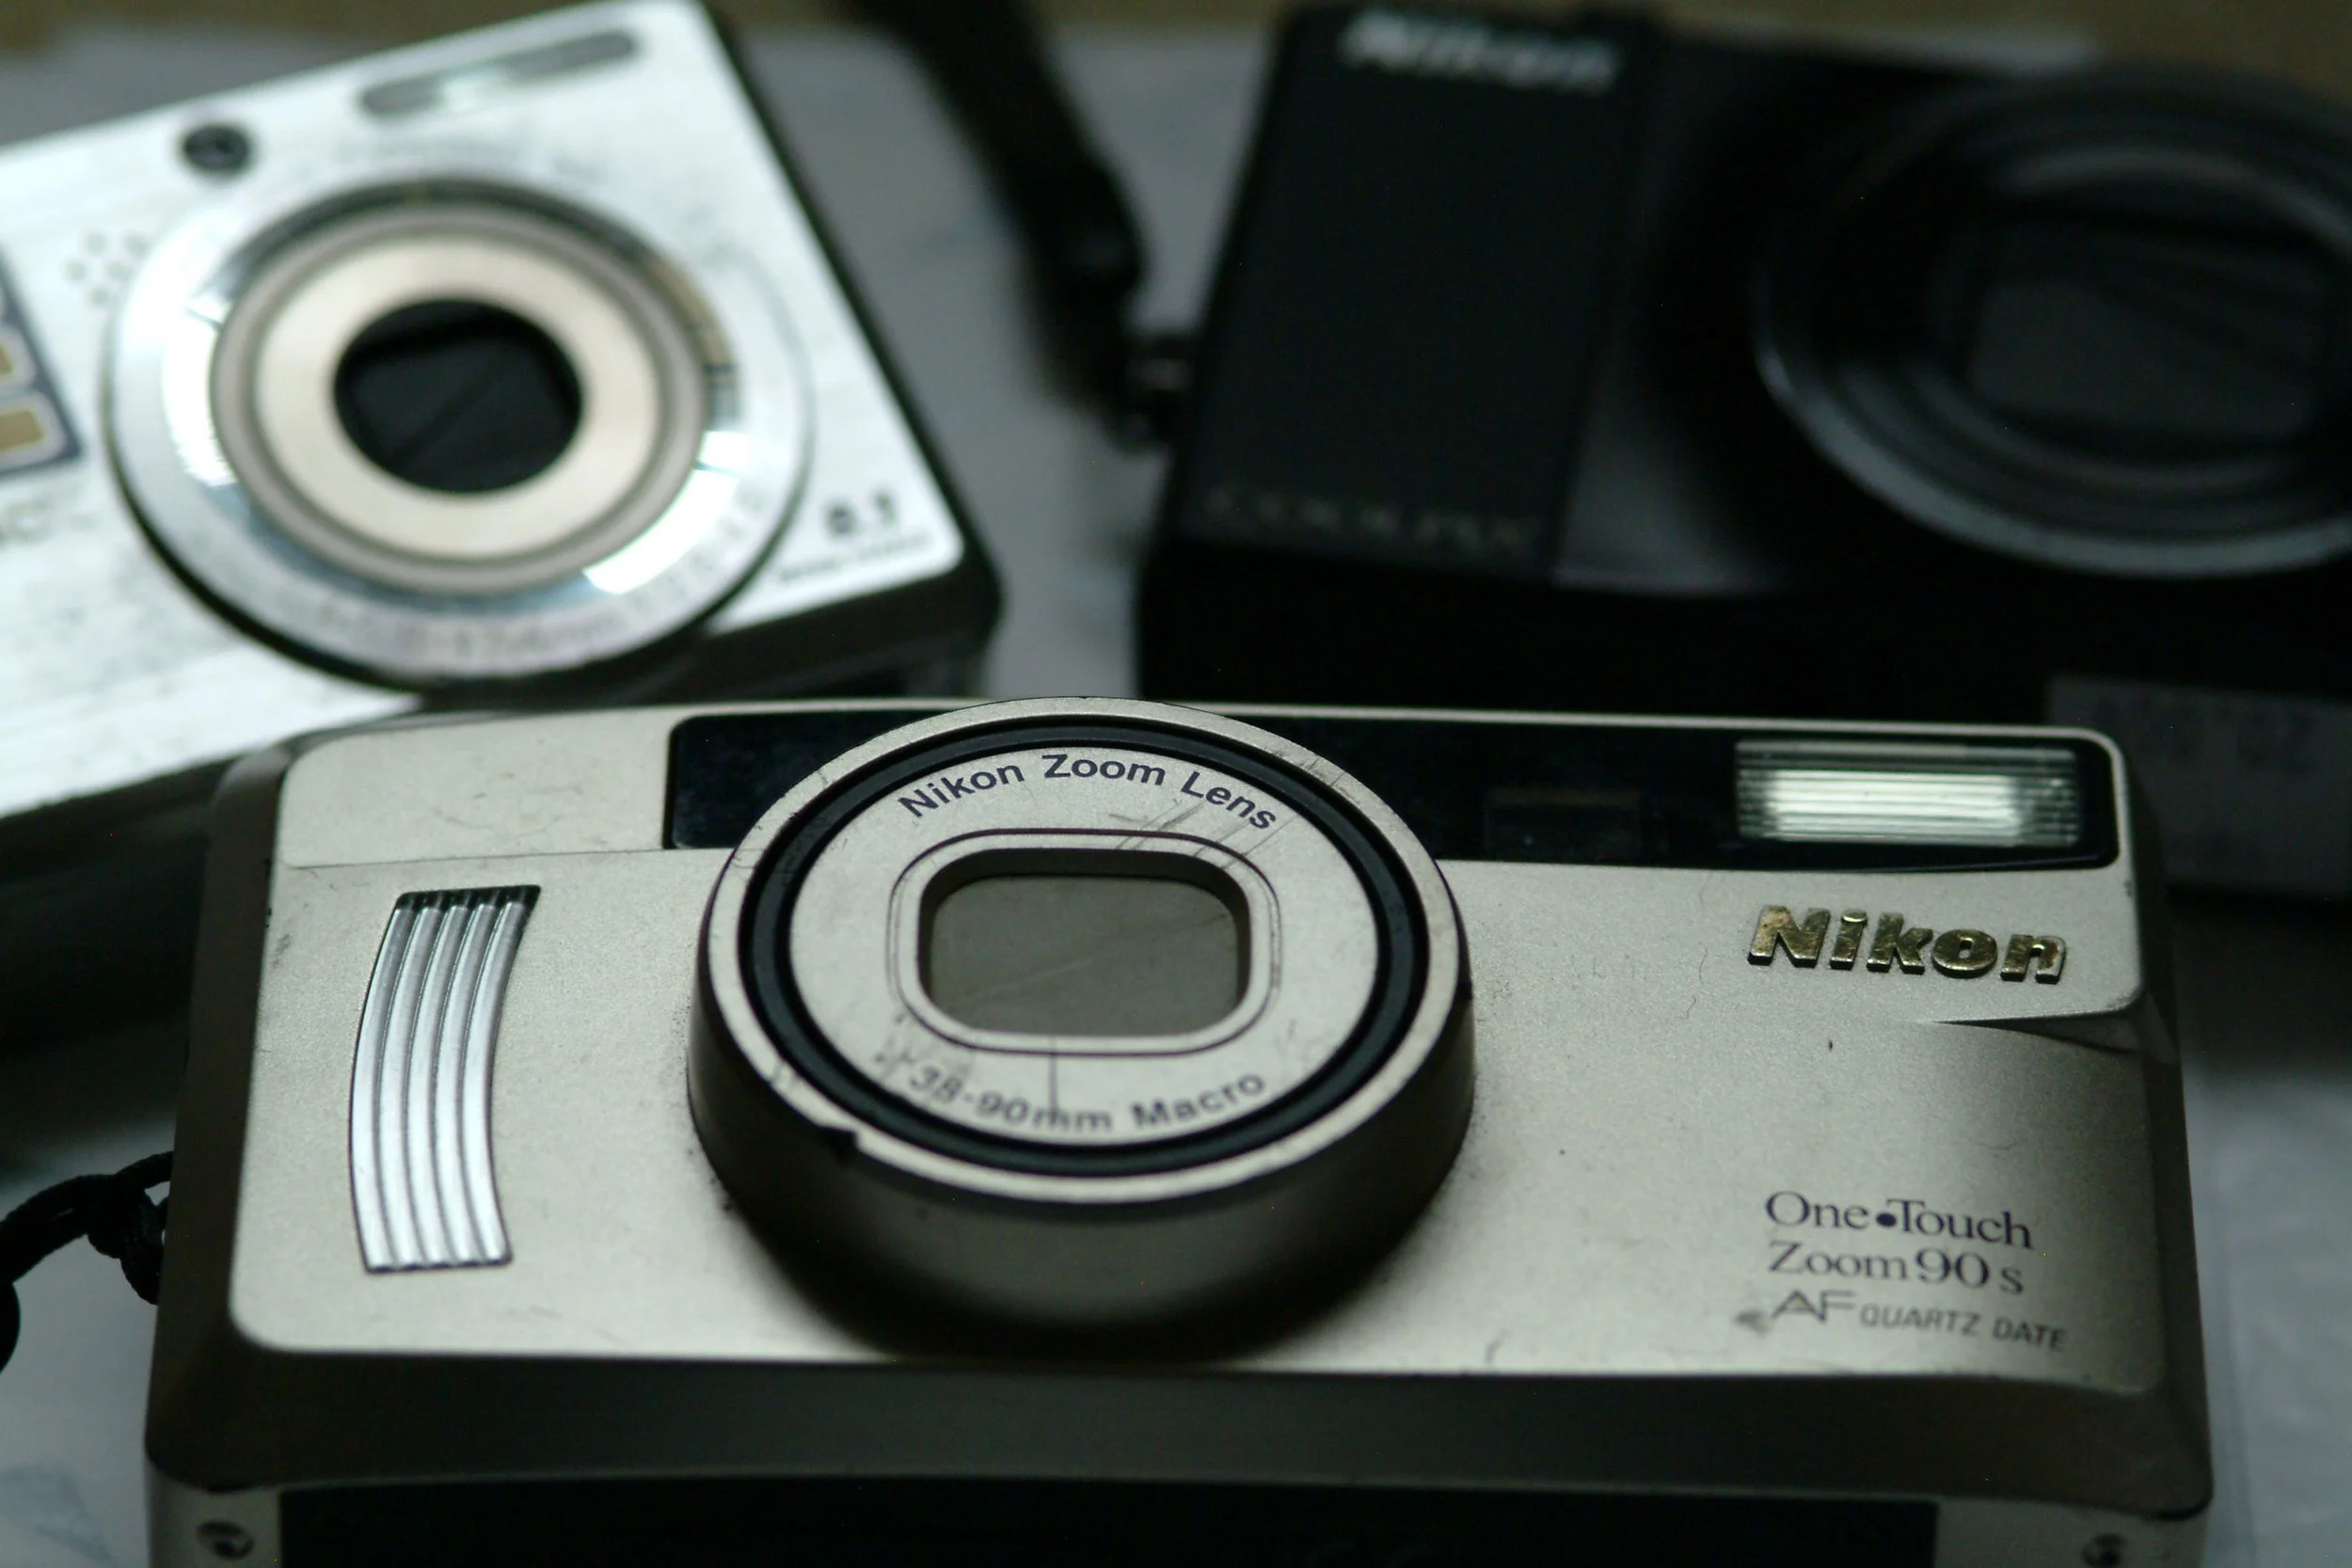
Most of us know the next type, a 35mm (usually autofocus) plastic fantastic. Unless our parents were photographers with a Nikon, Minolta or Canon SLR, they usually had a point and shoot along with a few undeveloped rolls of film in the kitchen junk drawer. These are amazing little pieces of technology as long as they’re working. Not built to be durable, there is a tendency for them to fail at the worst time, especially if they are one of the super trendy models influencers are flaunting now like the Contax t2 or even the Olympus Stylus/MJU. For film the only thing to be mindful of is the ISO number of the camera, but most of these cameras check it automatically and adjust the exposure accordingly. For digital point and shoot (or Digi-cams) it’s really a matter of preference for brand and size. The more mega pixels it has, the sharper the image will be, but they all work fine and over the past few years the trend is to have a lower resolution model to make it look more “film like”. If you want to try either a film or digital P&S, the first place to look is in your families’ basement attic and garage. Most of them can be had for the mythical “$5 at a thrift store” price, and if you really insist an expensive one, just keep an eye open. I have found multiple nice cameras at Goodwill and other thrift stores that work perfectly including an Olympus Stylus for $20. I would never pay more than $20-25 for an untested plastic camera, even if they do have a razor sharp prime Zeiss lens. Once they stop working, there are very few people that can fix them, and none of them are inexpensive.

The final type I’ve had is the advanced SLR, DSLR or mirrorless camera in Program or Auto mode. These cameras are by far the ones I get the most questions about. Someone will receive an amazingly advanced camera and lens kit for a birthday or holiday and get overwhelmed with all the options. Some like the Minolta 7000 (1985), Pentax sf10 (1988), Nikon n2000 (1986) and others made “program” photography incredibly easy. You lose the creativity of changing the settings when using this mode but autofocus makes sure the image is clear and the electronics make sure the exposure is correct. This mode is excellent for when you want the freedom of using different lenses but don’t yet want to get deep into the menus. I really like using this style of camera for vacation and have captured some nice shots with both my Nikon f100 (35mm film) and d500 (digital). The “newest” camera I’ve been handling lately is a Fujifilm s2 pro digital camera from 2002 to pair up with my vintage Nikon lenses. Nikon and Fuji collaborated in the early days of digital photography to create what I’ve quickly adopted as my favorite vintage digital camera. The Fuji sensor records a nicer image than the corresponding Nikon sensor in my opinion, but the Nikon f80 body shell and lens mount which was used makes it a very easy transition for me between film and digital. Six megapixels is roughly equivalent to what can be made with 35mm film, and I’m definitely starting to enjoy it more when I don’t want to wait for film. They stopped making them in 2005 to concentrate on their own line, but I would really like to try the pinnacle of the series (s5 Pro) at some point to see how far they got before abandoning the project.
Of note, there are a lot of later model film cameras with a program mode such as the Minolta x700 and Canon AE1 program. These are a great option if you want to shoot film without the need to manage exposure settings but feel comfortable with manual focusing. Oftentimes once they are in program mode, focus can just be turned to infinity and then be used as a very effective point and shoot style camera.


If you want to shoot your camera but get overwhelmed just thinking of it, turn that mode switch to “P” and go take some pictures! I have heard some photography snobs say it’s not “real” photography, but those aren’t the people we are taking pictures for. Grab your gear and take it someplace interesting.